Introduction
Lighting can make or break a photo—especially when using natural light. Understanding how to use daylight at the right time can transform even the most basic shot into something professional and beautiful. In this guide, you’ll learn how to take advantage of natural light for photography, including the best times to shoot, tips for different conditions, and what to avoid.
Why Natural Light Matters
Natural light adds authenticity, depth, and softness to your photos—especially portraits, lifestyle, and product shots. Unlike artificial lighting, it’s free, accessible, and incredibly versatile when used correctly.
Best Times to Shoot with Natural Light
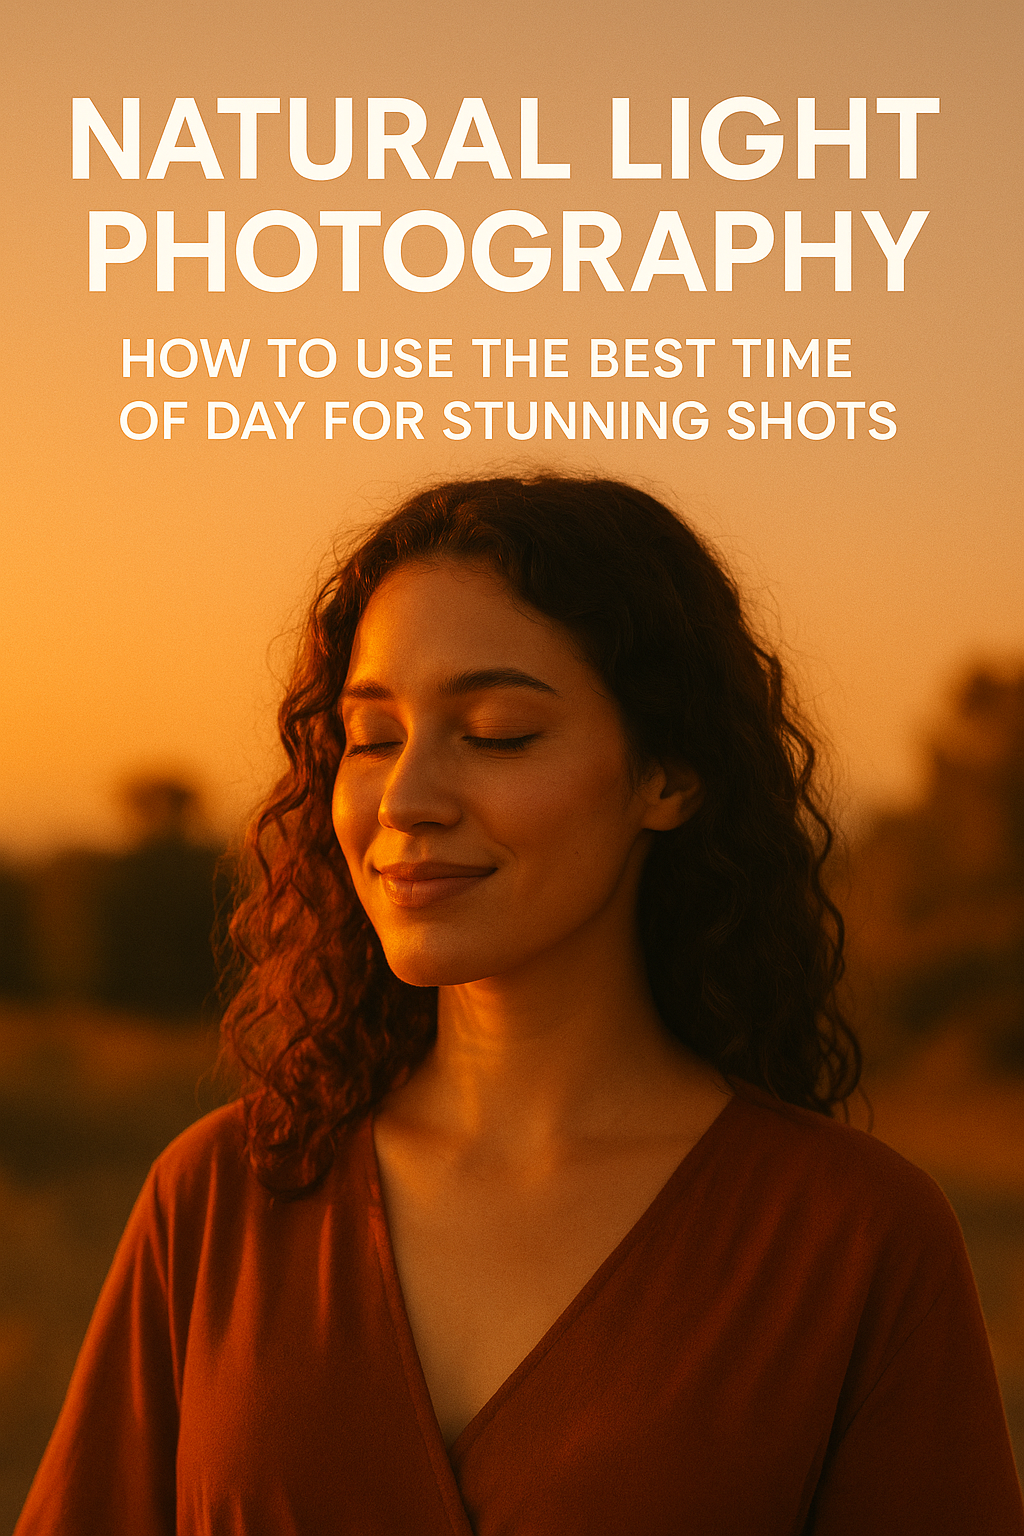
1. Golden Hour (Just After Sunrise & Before Sunset)
This is the most flattering light of the day. It creates a warm, soft glow and gentle shadows that are perfect for portraits and landscapes.
Pro Tip: The golden hour typically lasts 30–60 minutes after sunrise or before sunset, depending on your location.
2. Blue Hour (Right Before Sunrise & Right After Sunset)
A cooler, bluer tone that gives your photos a moody, cinematic feel. Ideal for cityscapes, long exposures, and creative portraits.
How to Work with Harsh Midday Light
Shooting around noon can cause harsh shadows and overexposed highlights. If you must shoot during this time:
- Look for shaded areas to diffuse light.
- Use a reflector or white surface to bounce light.
- Position your subject with the sun behind them (backlighting) for a soft glow.
Tips for Using Natural Light Indoors
- Shoot near large windows or doorways.
- Use light-colored walls or reflectors to bounce light evenly.
- Turn off artificial lights to avoid color mix.
What to Avoid When Using Natural Light
- Shooting directly into the sun without intention (causes lens flare and silhouette).
- Relying on flash during the day—it usually flattens the image.
- Ignoring white balance—set it to “Daylight” or manually adjust to avoid color cast.
Conclusion
Natural light is a powerful tool for any photographer—whether you’re using a smartphone or a DSLR. Learn to read the light, understand timing, and adapt to your environment, and you’ll consistently capture vibrant, professional-looking images.