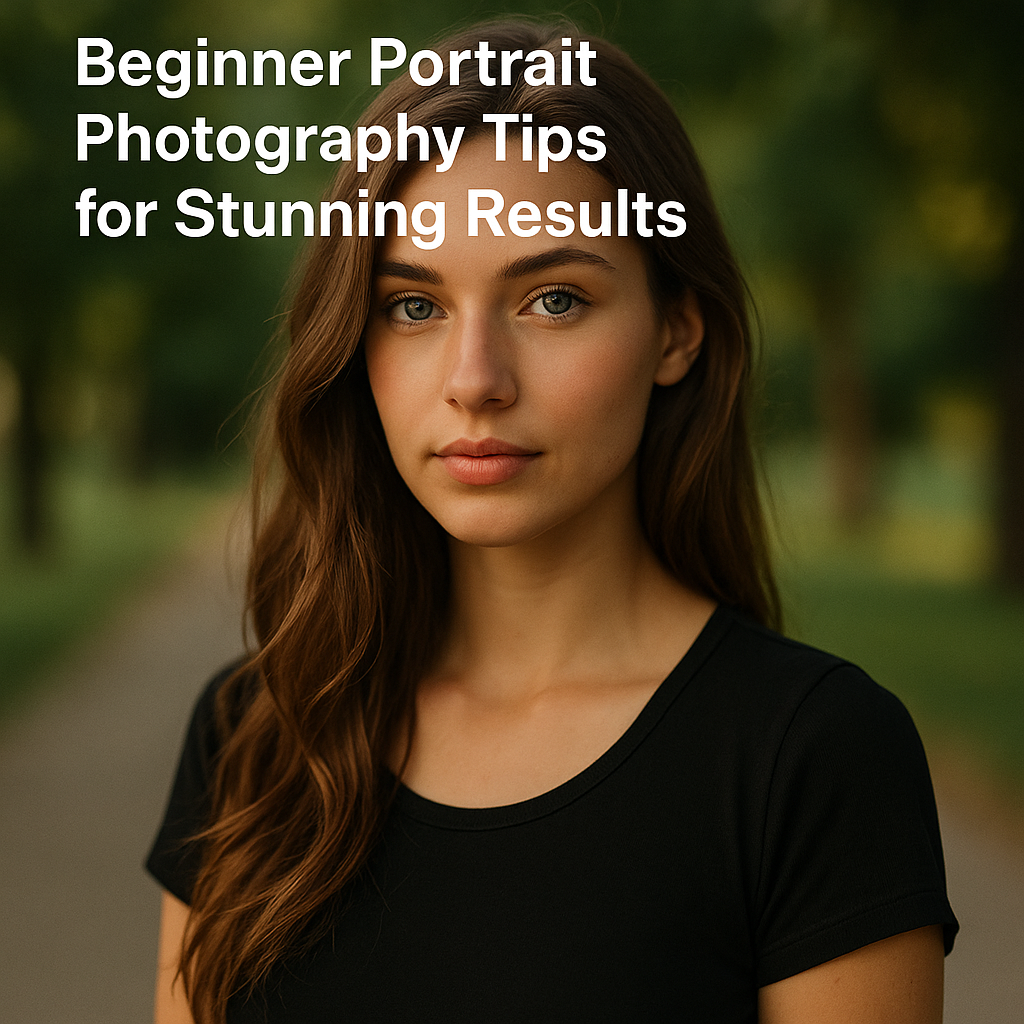
Portrait photography is one of the most rewarding genres in photography. It allows you to connect with people, tell stories through facial expressions, and capture personality and emotion in a single frame. But for beginners, getting portraits that look professional can be tricky—especially when it comes to lighting, posing, and focus.
This article will guide you through essential tips to help you take better portraits, even if you’re just starting out with basic gear.
Use Natural Light Whenever Possible
Lighting can make or break a portrait. The good news? You don’t need expensive studio lights to start. Natural light is your best friend, and it’s free.
Shoot during the golden hour—shortly after sunrise or before sunset—for soft, flattering light
If you’re indoors, position your subject near a window with soft light (use sheer curtains if the sun is too strong)
Avoid harsh midday sun, which creates strong shadows and squinting
Use a reflector (or a white wall or sheet) to bounce light back onto the subject’s face and reduce shadows
Choose the Right Background
A distracting background can ruin an otherwise beautiful portrait. Choose a background that complements your subject but doesn’t steal attention.
Use:
Plain walls
Parks or nature
Urban textures like brick, wood, or concrete
Create separation between the subject and the background by stepping back and zooming in. This creates a more pleasing depth of field (blurry background effect).
Focus on the Eyes
The eyes are the most expressive part of the face and should always be in sharp focus.
Tap on the eyes to focus (on your phone)
Use single-point autofocus mode (on your camera) and aim for the eye closest to the lens
If you’re using a wide aperture like f/1.8, be extra careful—the depth of field is shallow
Sharp eyes instantly add emotional connection and professionalism to your portrait.
Use a Wide Aperture for Background Blur
To achieve that beautiful blurry background (called bokeh), use a wide aperture:
f/1.8, f/2.0, or f/2.8 if your lens allows
Stand close to the subject and keep the background far away
This effect helps the subject stand out and gives a soft, dreamy look to the photo.
If you’re using a smartphone, switch to portrait mode to simulate the same effect.
Guide Your Subject With Simple Posing
Most people feel awkward in front of the camera. Your job is to help them feel comfortable and look natural.
Give gentle direction: “Tilt your chin down slightly,” or “Look over your shoulder”
Keep their posture relaxed—avoid stiff arms or locked knees
Use their hands to create interest: touching hair, adjusting clothes, or interacting with surroundings
Let them move between shots to loosen up. Candid expressions often work better than forced smiles.
Use Angles That Flatter
Shoot from slightly above eye level for a more flattering and slimming effect
Avoid shooting from below the chin, which can distort facial features
Position yourself to the side of your subject for profile or ¾ angle portraits, which add dimension
Move around your subject and observe how the light and features change with each angle.
Mind the Composition
Apply composition rules to elevate your portraits:
Rule of Thirds: Place the eyes along the top third of the frame
Leading Lines: Use lines (fences, roads, shadows) to draw attention to your subject
Framing: Use windows, arches, or trees to frame your subject within the photo
Centering works too—but only if done intentionally and with balance.
Communicate and Build Trust
The best portraits happen when the subject feels relaxed and understood. Don’t just snap photos—connect with them.
Ask questions, compliment them, and show some of the shots as you go
Encourage laughter, conversation, and movement
When people feel safe, they open up—and that’s when real beauty comes through the lens
Edit With a Light Touch
After shooting, use editing tools to enhance the portrait without losing natural beauty.
Adjust exposure, contrast, and white balance
Slightly smooth skin and remove blemishes (avoid over-editing)
Brighten the eyes and increase sharpness subtly
Warm up the tones to give a healthy, soft feel
Use Lightroom, Snapseed, or even mobile apps like Lightroom Mobile or Photoshop Express.
Practice With Friends or Family
Before charging for portraits, practice with people you know. Try shooting in different lighting conditions, backgrounds, and outfits. Challenge yourself to shoot a mini portrait session each week.
Create a folder of your best shots to use as a starter portfolio. Over time, you’ll gain confidence, build a consistent style, and get ready to attract clients.
You Can Master Portrait Photography
Portraits don’t require fancy studios or perfect models—just patience, empathy, and a creative eye. With practice and a few simple techniques, you’ll soon be capturing images that feel alive, emotional, and timeless.
Start with what you have. Focus on the light, connect with your subject, and let the lens tell their story.
